Swagger Codegen介绍
先来看看官网定义:
Swagger Codegen can simplify your build process by generating server stubs and client SDKs for any API, defined with the OpenAPI (formerly known as Swagger) specification, so your team can focus better on your API’s implementation and adoption.
Swagger Codegen可以为任何的API来生成服务器端代码框架和客户端代码,同时还有基于OpenAPI规范的交互式API文档。这样你就可以集中精力到API的实现上。在这里,你只需要在YAML或者json文件中将自己的API描述清楚,剩下的就可以交给Swagger Codegen。可以说在小的项目中,使用Swagger Codegen似乎有些牛刀杀鸡的感觉,但在大型项目中,通过这种方式,能够大大提高生产效率(前端无需等待后台API)。
示例
创建yaml配置文件
下面创建一个最为基本的API定义文件:def/student-v1.yaml
---
swagger: "2.0"
info:
  description: "Students API."
  version: "v1"
  title: "studentAPI"
host: "localhost:8080"
basePath: "/api/student/v1"
tags:
- name: "studentAPI"
schemes:
- "http"
security:
- apiKey: []
paths:
  /studentDetails/{studentId}:
    get:
      tags:
      - "studentDetails"
      summary: "This API will return student details."
      description: "This API will teturn a student's details."
      operationId: "studentDetails"
      produces:
      - "application/json"
      parameters:
      - name: "studentId"
        in: "path"
        description: "The ID of the student."
        required: true
        type: "string"
      responses:
        200:
          description: "OK - Your request was successfully completed."
          schema:
            $ref: "#/definitions/Student"
        400:
          description: "Bad Request"
        401:
          description: "Unauthorized"
        403:
          description: "Forbidden"
        404:
          description: "Not Found"
        405:
          description: "Method not allowed"
        500:
          description: "Internal server error"
        504:
          description: "Timeout"
      x-swagger-router-controller: "StudentDetails"
securityDefinitions:
  apiKey:
    type: "apiKey"
    name: "x-Gateway-APIKey"
    in: "header"
definitions:
  Student:
    type: "object"
    properties:
      apiVersion:
        type: "string"
        example: "1.0.0"
        description: "The version of the api."
    example:
      apiVersion: "1.0.0"
      details:
      - id: "9901"
        name: "Paul"
        address: "123 Fake Street"
生成代码
首先需要安装JRE 8+版本,然后下载Swagger Codegen对应的jar,最后运行:
java -jar swagger-codegen-cli-2.4.9.jar generate -l nodejs-server -i def\student-v1.yaml -o target其输出信息类似这样:
[main] INFO io.swagger.parser.Swagger20Parser - reading from def/student-v1.yaml
[main] INFO io.swagger.codegen.AbstractGenerator - writing file C:\tutorials\swagger-codegen\demo\target\service\StudentDetailsService.js
[main] INFO io.swagger.codegen.AbstractGenerator - writing file C:\tutorials\swagger-codegen\demo\target\controllers\StudentDetails.js
[main] INFO io.swagger.codegen.AbstractGenerator - writing file C:\tutorials\swagger-codegen\demo\target\utils\writer.js
[main] INFO io.swagger.codegen.AbstractGenerator - writing file C:\tutorials\swagger-codegen\demo\target\api\swagger.yaml
[main] INFO io.swagger.codegen.AbstractGenerator - writing file C:\tutorials\swagger-codegen\demo\target\index.js
[main] INFO io.swagger.codegen.AbstractGenerator - writing file C:\tutorials\swagger-codegen\demo\target\package.json
[main] INFO io.swagger.codegen.AbstractGenerator - writing file C:\tutorials\swagger-codegen\demo\target\README.md
[main] INFO io.swagger.codegen.AbstractGenerator - writing file C:\tutorials\swagger-codegen\demo\target\.swagger-codegen\VERSION
可以看到在指定的目标路径下生成了很多文件。
运行模拟的API及文档服务器
通过Node.js就可以把一个API服务以及文档服务器运行起来了。
npm start查看效果
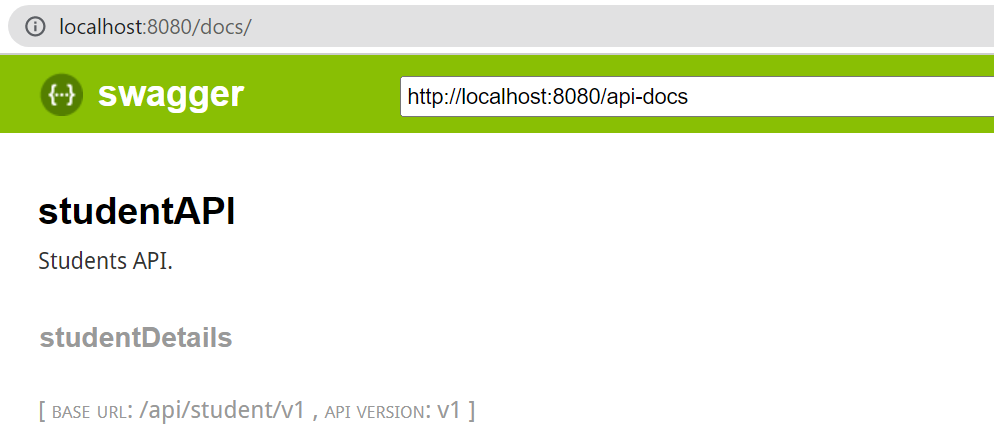
打开浏览器访问:http://localhost:8080/docs
如果点击studentDetails,可以看到:
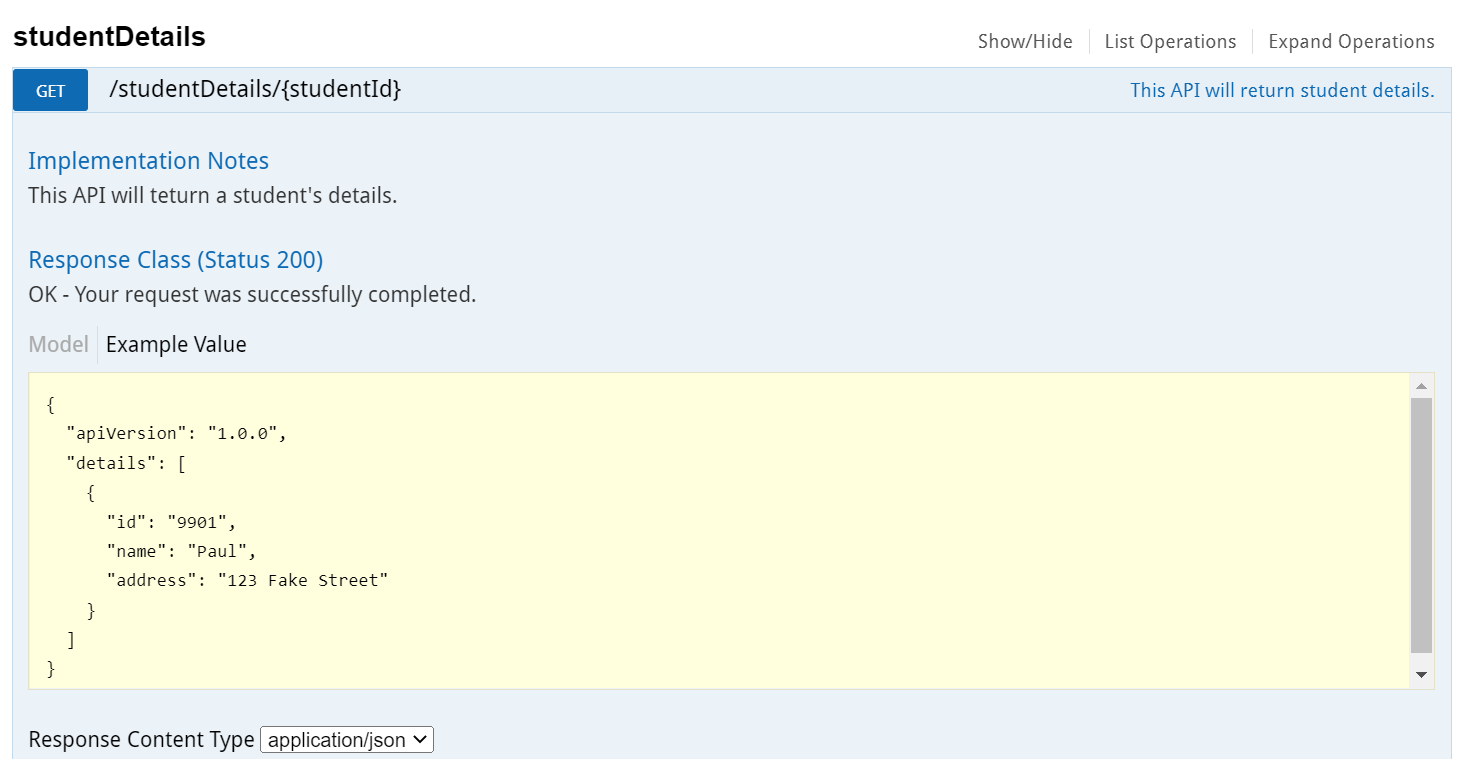
我们在最早的YAML文件中定义的参数,返回值等都列举出来了:
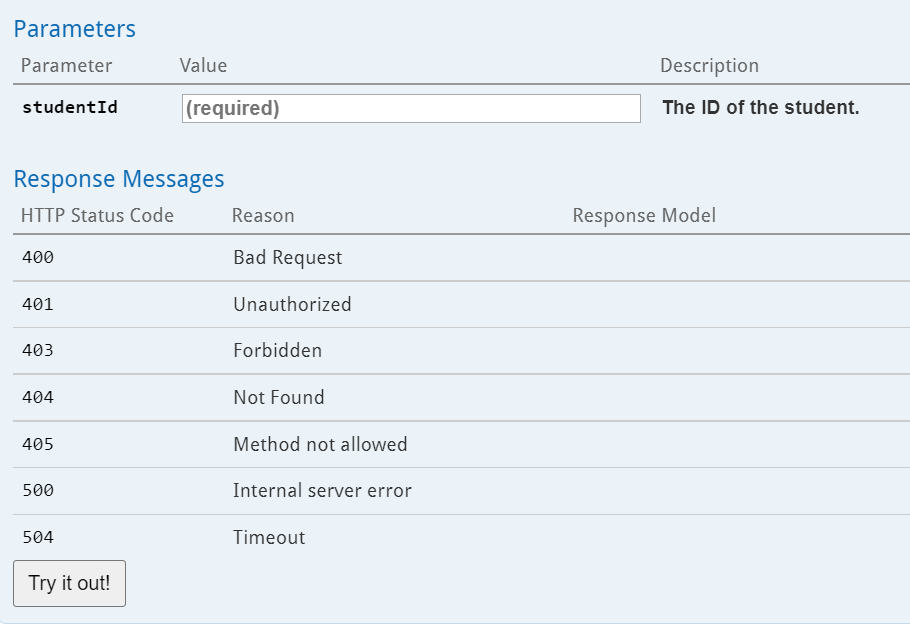
调用模拟API
下面单击Try it out,可以看到各种调用方法的提示,包括curl, 浏览器直接访问(Get请求)等。当然,你可以在类似Postman之类的工具中直接调用这些API。
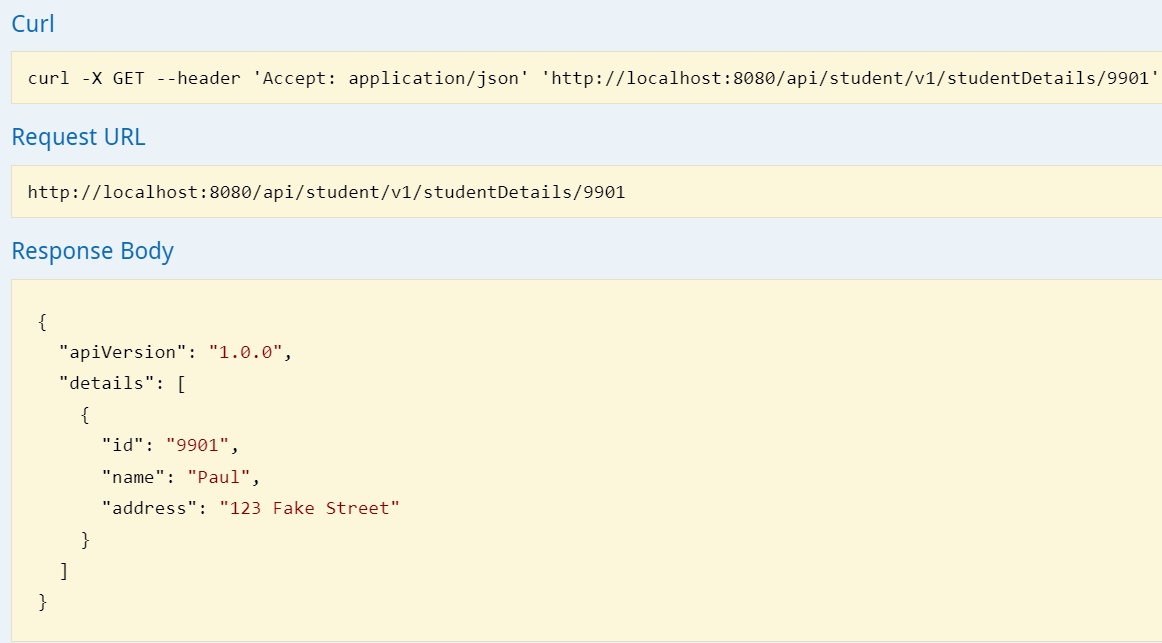
到了这一步,我们并没有写一行实现API的代码,只是定义了API的参数,返回值等信息,一个“可以用”的API就被创建好了,同时,如果通过客户端连接的代码也给出来了,香不香?
如果我有多个API定义的yml文件?
在上面提到的代码生成过程中,基本上是针对一个API定义文件(json或yml),就会在目标目录下生成所有的文件。那么如果在同一个服务器上有多个API该如何做呢?其大致步骤如下:
- 针对每个yaml文件,调用swagger codegen生成代码到目标目录./target中。注意,针对不同的API,有些文件,比如JS文件不会重复,但有些则会,比如:target/api/swagger.yml。在这个文件中定义了在后面swagger UI中能被显示的API,在每次生成代码、文档的时候这个文件都会被覆盖。但如果不在target目录中启动Node应用,就没有问题。也就是说,我们可以弃用这个文件。
- 将target目录中的所有文件(不包括api/swagger.yml) 复制到其父目录中
- 启动Node,这样swagger codegen可以从api/*.yml中读取API配置,因此仍旧能够工作
也有人提到过一个方法,就是添加一个总控的yml文件,在其中引用其他的API定义,但个人没有试过。