在开发无服务器应用的时候,通过纯手工方式创建各种资源的话,效率会非常低,因此需要借助一些框架来提高开发效率。下面介绍如何使用circleci进行持续集成/部署。

简单的serverless项目
这里只以创建一个简单的S3 bucket为例。其serverless.yml文件内容为:
service: service-circleci

provider:
  name: aws
  region: eu-west-1
  runtime: nodejs14.x
  lambdaHashingVersion: 20201221
  profile: default

resources:
  Resources:
    DemoBucketUpload:
      Type: AWS::S3::Bucket
      Properties:
          BucketName: lcoding-dev-bucket

    DemoBucketPolicy:
      Type: AWS::S3::BucketPolicy
      Properties:
        Bucket:
          Ref: DemoBucketUpload
        PolicyDocument:
          Statement:
            - Sid: PublicReadGetObject
              Effect: Allow
              Principal: "*"
              Action:
              - s3:GetObject
              Resource:
                Fn::Join: [
                  "", [
                    "arn:aws:s3:::",
                    {
                      "Ref": "DemoBucketUpload"
                    },
                    "/*"
                  ]
                ]
在项目中定义CI/CD行为
添加.circleci/config.yml:
version: 2.1
orbs:
    node: circleci/[email protected]
jobs:
    build-and-deploy:
        docker:
            - image: circleci/node:16.13.0
        steps:
            - checkout
            - run:
                  command: sudo npm i -g serverless npm@latest
            - run:
                  command: npm install
            - run:
                  command: sudo chmod +x ./.circleci/setup-aws-profile.sh
            - run:
                  command: ./.circleci/setup-aws-profile.sh
            - run:
                  command: sls deploy

workflows:
    build-and-deploy:
        jobs:
            - build-and-deploy:
                  context: slsProject
                  filters:
                      branches:
                          only:
                              - main
增加文件setup-aws-profile.sh
.circleci/setup-aws-profile.sh文件的内容:
npx sls config credentials \
    --provider aws \
    --profile default \
    --key "$AWS_PROFILE_KEY" \
    --secret "$AWS_PROFILE_SECRET"
在AWS中创建circleci使用的用户CircleCI
该用户CircleCI应具备Admin权限。
添加circleci环境变量
首先进入circleci官网,通过自己的Github账户登录后,选择要进行构建的项目。
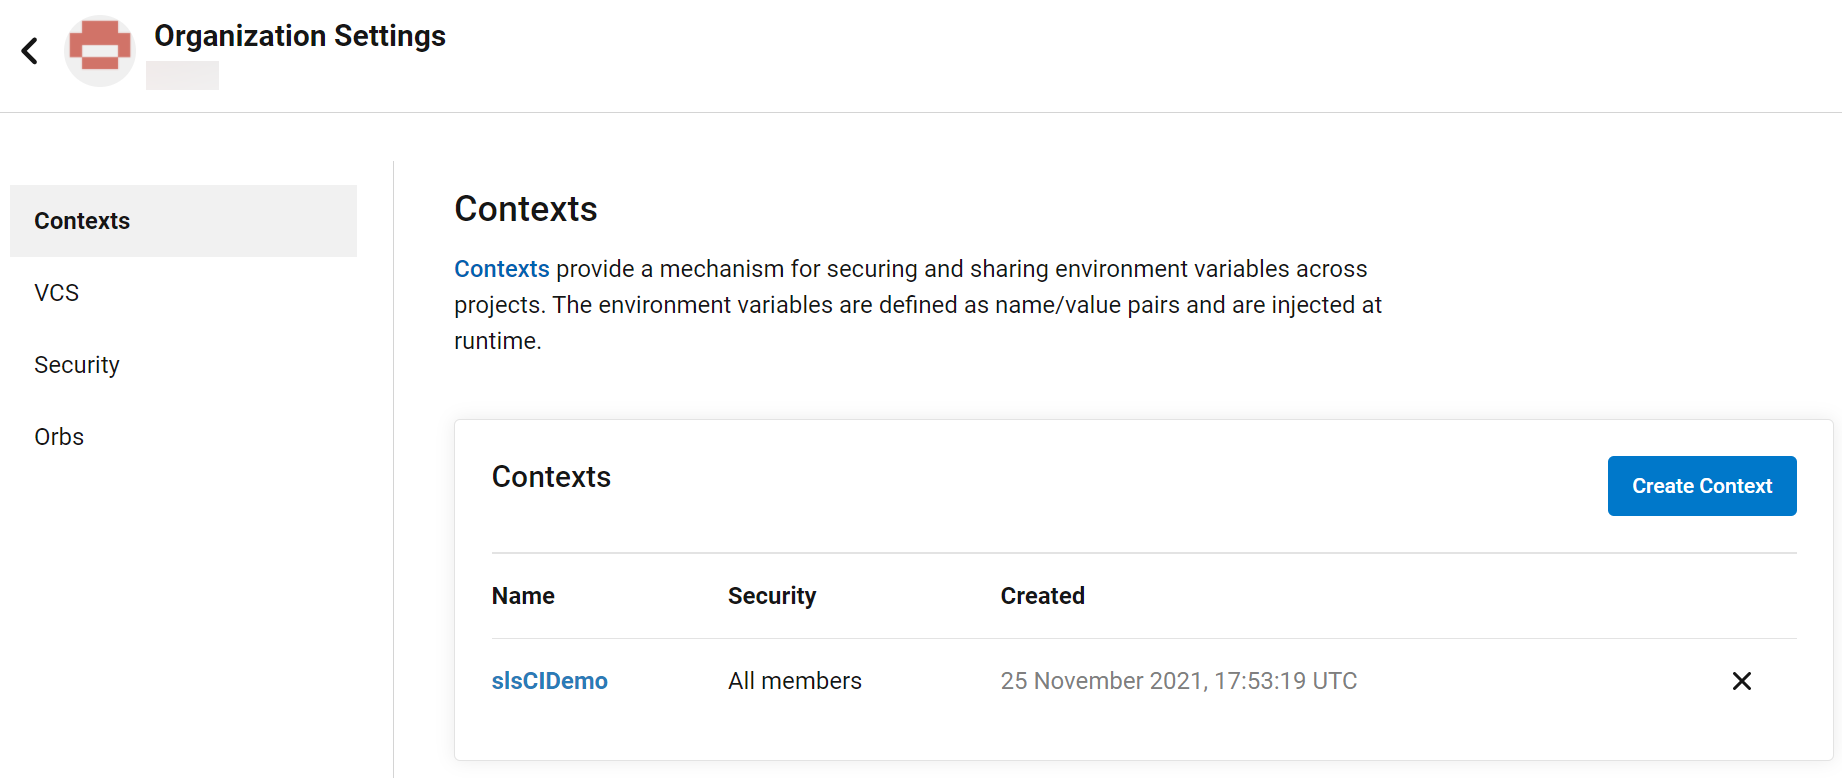
进入circleci设置中,创建上一步引用到的context(slsProject),这个Context可以在不同项目间共享。
然后添加环境变量AWS_PROFILE_KEY, AWS_PROFILE_SECRET。使用上一步创建的CircleCI用户的KEY/SECRET。
测试
将项目提交到Github,就会自动触发circleci的构建过程。