现在Web application中使用OAuth进行登录几乎已经成为了标配。下面介绍如何通过AWS Cognito内置的OAuth provider来实现Google登录。

AWS Cognito系列教程:
- React+AWS Cognito教程一:创建User Pool并实现用户注册及用户登录
- React+AWS Cognito教程二:Cognito中的Session及注销登录
- React+AWS Cognito教程三:在Cognito中更改密码
- React+AWS Cognito教程四:使用Cognito中的自定义属性
- React+AWS Cognito教程五:通过AWS Cognito UserPool保护APIGateway
- React+AWS Cognito教程六:Cognito内置的OAuth支持-使用Google登录
- Cognito中的细粒度用户访问授权
创建AWS Cognito User Pool
首先,进入AWS Cognito,并创建一个User Pool。在创建的过程中,注意在标准属性中勾选”email”。
创建一个app client。
添加一个域名,类似这样:oauthtest.auth.eu-west-1.amazoncognito.com
Google中的配置
在Google中创建一个项目
创建Google项目的页面:https://console.cloud.google.com/projectcreate
单击Create后进入:
https://console.cloud.google.com/home/dashboard
配置OAuth consent页面
- App name: 随便起,比如AWS Cognito OAuth Test App
- User support email
- App logo
- App domain: http://localhost:3000 (开发/测试时使用)
- App privacy policy link: http://localhost:3000 (开发/测试时使用)
- App Terms of Service link: http://localhost:3000 (开发/测试时使用)
- Authorised domains: amazoncognito.com
单击“Save”
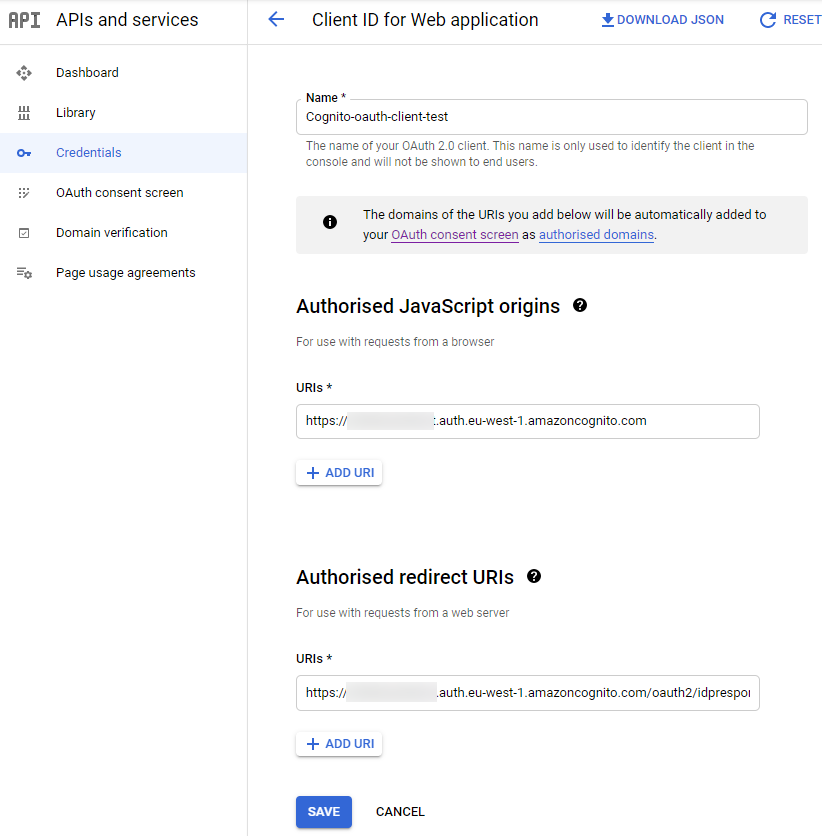
Credentials
进入Credentials页面:https://console.cloud.google.com/apis/credentials
- Create Credentials -> OAuth client ID
- Application type -> Web application
- Name: Cognito-oauth-client-test (or anything you like)
- Authorised JavaScript origins: https://oauthtest.auth.eu-west-1.amazoncognito.com
- Authorised redirect URIs:
**https://oauthtest.auth.eu-west-1.amazoncognito.com/oauth2/idpresponse
Click “Create” and save client ID / Secret:
Client ID: xxxxxx.apps.googleusercontent.com
Client Secret: GOCSPX-xxxxxx
进一步的AWS Cognito配置
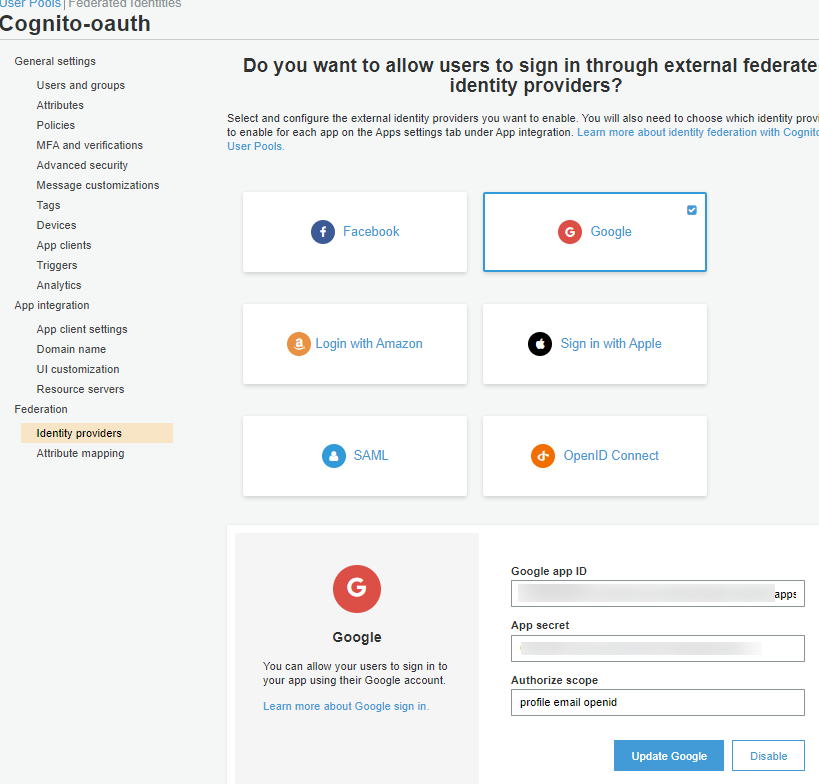
激活Google作为IDP
单击/选择:
- Manage User Pools
- Choose your user pool
- 选择”Federation” -> “Identity providers”
- Enter Google app ID, App secret, Authorize scope (profile email openid)
- Click “Enable Google”
映射Google属性到Cognito User Pool属性
- Manage User Pools
- Choose your user pool
- 选择”Federation” -> “Attribute mapping”
- Map Google attribute “email” to User pool attribute “Email”, click “Save”
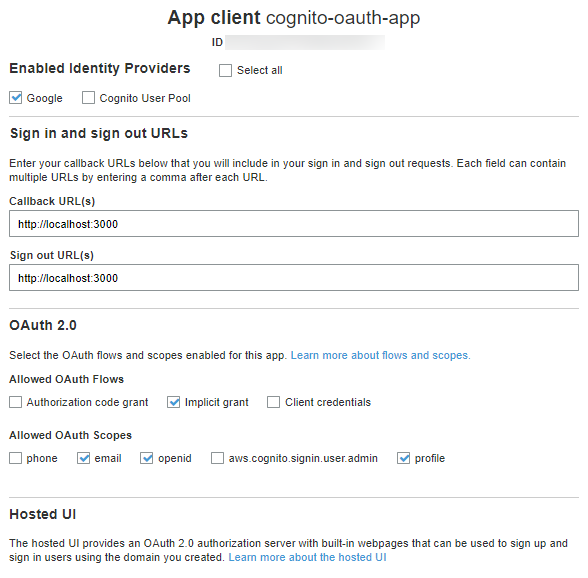
更新app client设置
- Manage User Pools
- Choose your user pool
- 选择”App integration” -> app client settings
- Tick ‘Google’
- Callback URL(s): http://localhost:3000
- Sign out URL(s): http://localhost:3000
- Allowed OAuth Flows: Implicit grant (这个选项只是在测试时用,在产品模式下参考: https://aws.amazon.com/blogs/mobile/understanding-amazon-cognito-user-pool-oauth-2-0-grants/)
- Allowed OAuth Scopes: email, openid, profile
单击 “Save changes”
测试
在浏览器中输入如下的URL:
就会看到这样的一个窗口:
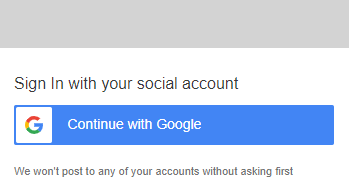
单击并选择Google账户后,就可以看到从Google返回到设定好的URL,同时包含了(JWT)access token:
http://localhost:3000/#access_token=eyJraWQiOiJwxxxxxxxxxxxxxxxxxxxXXXXXXXXX
当然在开发真实项目的时候不会这样做,肯定是APP负责和Google的沟通了。