在使用AWS开发应用的时候,用户认证和授权是不可或缺的一部分,下面介绍如何在React中通过AWS Cognito实现用户注册,登录,注销,更换密码,忘记密码处理等功能。

AWS Cognito系列教程:
- React+AWS Cognito教程一:创建User Pool并实现用户注册及用户登录
- React+AWS Cognito教程二:Cognito中的Session及注销登录
- React+AWS Cognito教程三:在Cognito中更改密码
- React+AWS Cognito教程四:使用Cognito中的自定义属性
- React+AWS Cognito教程五:通过AWS Cognito UserPool保护APIGateway
- React+AWS Cognito教程六:Cognito内置的OAuth支持-使用Google登录
- Cognito中的细粒度用户访问授权
创建User Pool
首先登录自己的AWS账户,创建一个新的User Pool,按照如下进行配置,如未指明,使用默认值:
- Pool name: cognito-tutorial
- 选择Step through settings
- How do you want your end users to sign in? Email address or phone number / Allow email addresses
- 使用所有的默认设置,单击“Next step”
- 关于密码强度,用户自动Sign up,临时密码有效期等,均选择默认设置后单击“Next step”
- MFA:Off,其余选项均选择默认后,单击“Next step”
- SES Region: **EU (Ireland)**,这里根据自己的需要选择,单击“Next step”
- 无需添加tag,但在生产环境中一定要添加tag,以便纠错等。单击“Next step”
- Do you want to remember your user’s devices? 选择默认值No,单击“Next step”
- Which app clients will have access to this user pool? 单击”Add an app client”
- 输入App client name:cognito-demo-app,取消Generate client secret, 然后单击“Create app client”
- Do you want to customize workflows with triggers? 单击“Next step”
- 单击“Create pool”
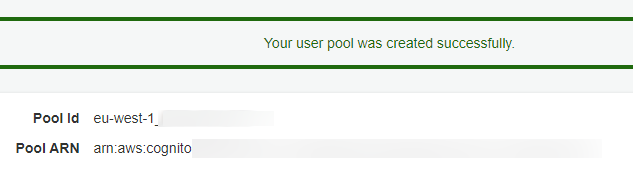
需要记住这里的Pool Id(页面左边的“General settings”)和App Client Id(单击页面左边的”App clients”可以查看)
单击页面左边的”Domain name”并设置一个Domain name,比如:lscoding-demo,单击“Save changes”
创建React应用
npx create-react-app cognito-tutorial
cd cognito-tutorial
yarn
yarn start
删除所有没必要的文件后,只保留index.js, index.css, App.js
添加用户注册功能
添加依赖
yarn add amazon-cognito-identity-js添加UserPool组件
定义一个专用于管理User Pool的组件components/UserPool.js:
import { CognitoUserPool } from 'amazon-cognito-identity-js';

const poolData = {
    UserPoolId: 'eu-west-1_SXXvWmUVV',
    ClientId: '6eud99oml15ch0e5iqeh4irs0a'
}

export default new CognitoUserPool(poolData);
添加components/Signup.js组件
import { useRef } from 'react';
import UserPool from './UserPool';

export default function Signup() {
  const emailElement = useRef('');
  const passwordElement = useRef('');

  const handleSubmit = e => {
    e.preventDefault();

    UserPool.signUp(emailElement.current.value, passwordElement.current.value, [], null, (err, data) => {
      if(err) {
        console.log(err);
      }else{
        console.log(data);
      }
    })
  }

  return (
    <div className="App">
      <form onSubmit={handleSubmit}>
        Email:
        <input type="text" ref={emailElement}/><br/>
        Password:
        <input type="text" ref={passwordElement}/><br/>
        <button type="submit">Signup</button>
      </form>
    </div>
  );
}
更改App.js
import Signup from "./components/Signup";

function App() {

  return (
    <div className="App">
      <Signup/>
    </div>
  );
}

export default App;
测试
可以尝试注册用户,会发现如果密码不符合要求,Cognito会返回HTTP 400错误。
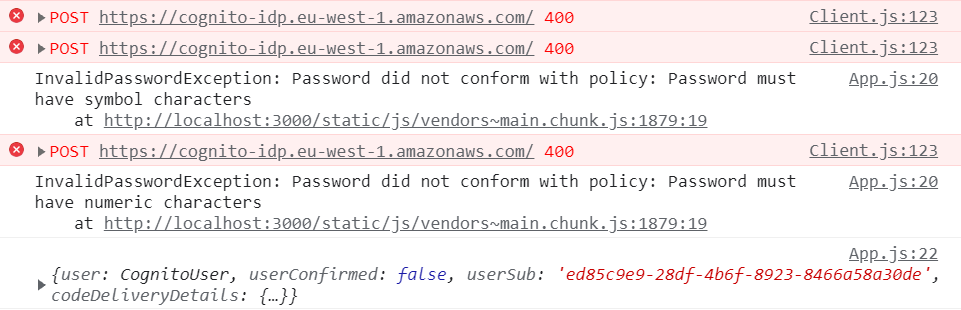
在Cognito User Pool中,也会看到新注册的用户:

只不过需要注意,新注册的用户尚未确认,因此不能登录。同时,注册的邮箱中会收到一封邮件,包含认证码。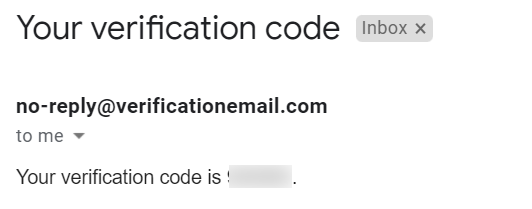
这和前面创建User Pool时的设置有关,如果选择发送确认链接的话,单击链接就可以自己确认了。
但这里可以登录到AWS Cognito进行人工确认。
用户登录功能
首先,创建组件components/Login.js
import { useRef } from 'react';
import { CognitoUser, AuthenticationDetails } from 'amazon-cognito-identity-js';
import UserPool from './UserPool';

export default function Signup() {
  const emailElement = useRef('');
  const passwordElement = useRef('');

  const handleSubmit = e => {
    e.preventDefault();

    const user = new CognitoUser({
      Username: emailElement.current.value,
      Pool: UserPool
    });

    const authDetails = new AuthenticationDetails({
      Username: emailElement.current.value,
      Password: passwordElement.current.value
    });

    user.authenticateUser(authDetails, {
      onSuccess: data => {
        console.log('logged in successfully', data);
      },

      onFailure: err => {
        console.log("Error while login", err);
      },

      newPasswordRequired: data => {
        console.log("new password required", data);
      }
    });
  }

  return (
    <div className="App">
      <form onSubmit={handleSubmit}>
        Email:
        <input type="text" ref={emailElement}/><br/>
        Password:
        <input type="text" ref={passwordElement}/><br/>
        <button type="submit">Login</button>
      </form>
    </div>
  );
}
当然,需要在App.js中导入Login组件并引用它。
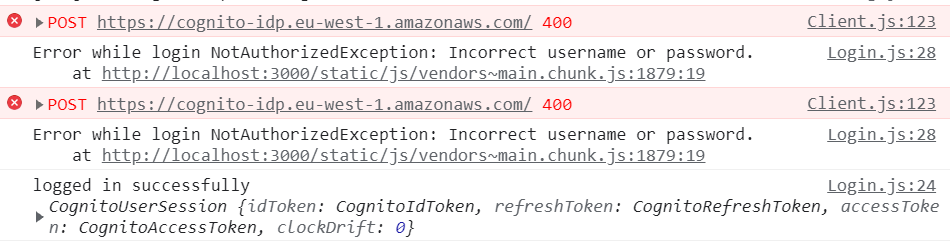
分别进行几次尝试,比如输入错误密码,可以看到控制台的不同输出: